1. For this example, cut a strip of fabric 5 inches wide and two or three times as long as the length of the area your project is. (The more length you allow, the more ruffly it can be.)
2. Fold it in half width wise and right sides together.
3. Stitch the long, open side.
4. Turn it right side out.
5. Sew up the short ends. (All of these steps can be done by hand or by machine.)
6. Take your needle and matching thread and make long stitches down the length of the fabric until you have sewed up the entire length. You want your stitches to go down the middle of the fabric.
7. Pull the thread while pushing the fabric to the desired length of ruffle.
8. Place on your project where you need it, sew it on, and you're done!
If my directions are confusing, all I'm saying is that you should follow instructions for normal ruffle making except use your hand stitches instead of a machine as you prepare to pull the fabric. I find that by hand, things are much easier to control.
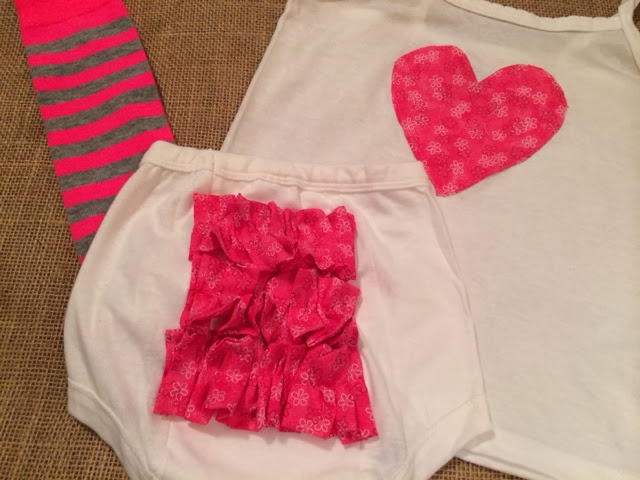
Here is my latest ruffle project, actually the first ruffle project I did by hand and found it much easier than the machine! These are jazzed up Gerber training pants...

I hope you find hand stitching ruffles easier like I did!
No comments:
Post a Comment